Hierarchy & Top-level Elements
Advanced Story Maps can add an optional layer above the backbone for activities, goals, or another high-level Jira issue type. Existing goals remain available when this row is enabled.
Configure the top-level row
- Open Settings and switch to the Hierarchy tab.
- Select the Jira issue type used for the top-level row.
- Select the issue-link type that connects it to the backbone.
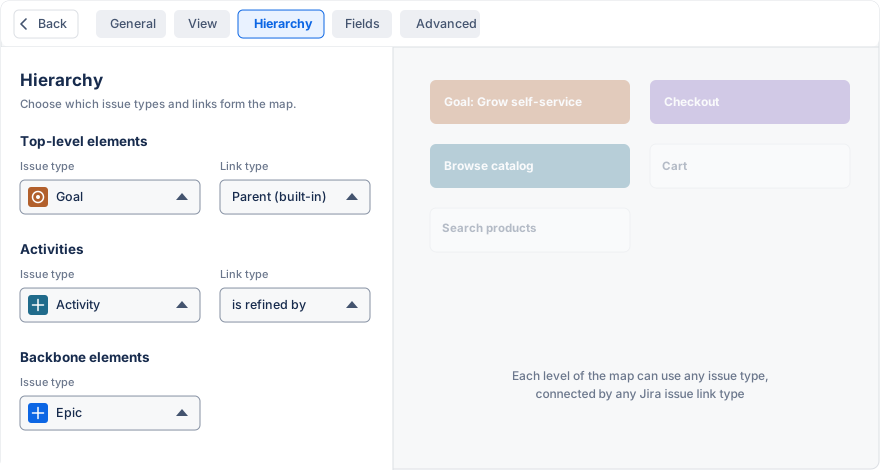
The link type is required for dynamic maps and optional for static maps. Changing the hierarchy of a dynamic map reloads it using the new configuration.
Use Settings → View to show or hide a configured top-level row without deleting its configuration.
Add and arrange top-level elements
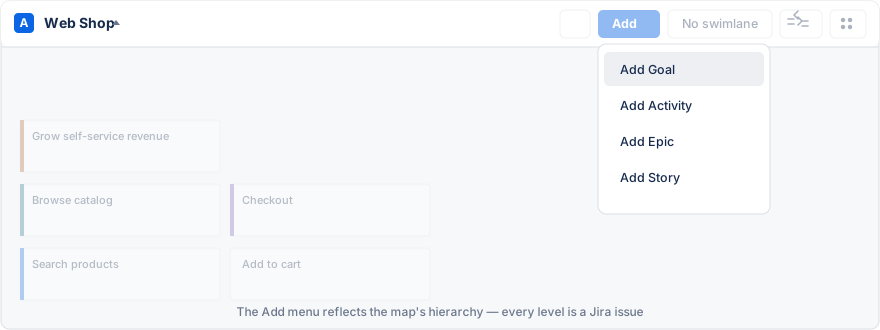
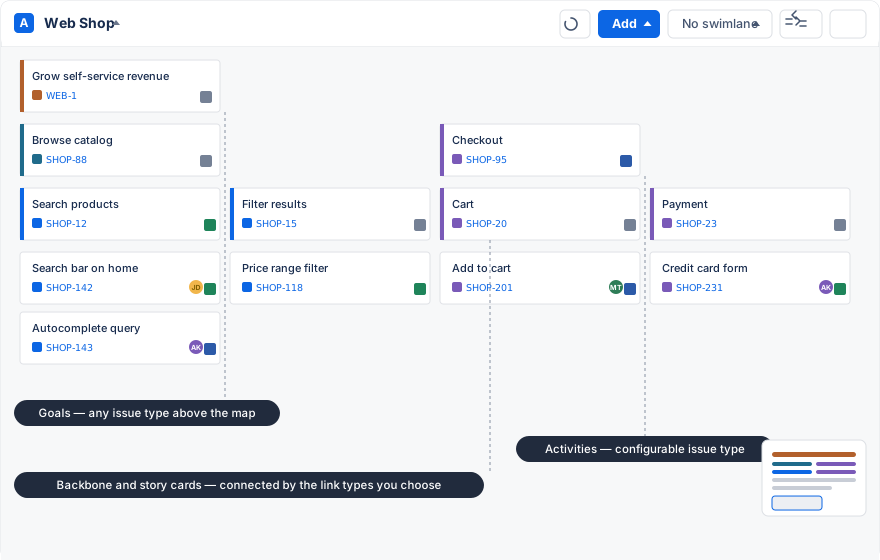
Use the Add control to create an issue of the configured type, then drag it into the top-level row. Backbone items can be dragged beneath a top-level issue; Advanced Story Maps maintains the configured Jira issue link between the two levels.
A map with a configured goal level looks like this:
Use Jira Premium hierarchy
Jira Premium supports hierarchy levels above Epic through Advanced Roadmaps. To use its built-in Parent relationship with Advanced Story Maps:
- Make every issue type in the hierarchy available to the project that contains the story maps.
- Add Jira’s Parent field to the create, edit, and view screens for each relevant issue type.
- Open the Advanced Story Maps global configuration and enable Premium features.
- Select Parent (built-in) as the hierarchy relationship in the map settings.
The Parent field must be present on the correct Jira screens. Without it, Jira can reject the relationship update and the hierarchy will not load correctly when the map is reopened.
See Atlassian’s guide to configuring custom hierarchy levels for the Jira-side setup.